Frustrated with your scheduling? Try the easiest-to-use calendar app, made by and for maid service owners.


Brought to you by expert maid service owners
It’s 9 PM on Sunday. You’ve just settled onto the couch when you remember tomorrow’s schedule needs finalizing. As you flip through your appointment book, that familiar knot forms in your stomach. Did you double-book Sarah again? Wait — is the Johnson house getting cleaned tomorrow or Tuesday? And where did you put that sticky note with the new client’s address?
If this sounds painfully familiar, you’re in the right place. You’ve decided it’s time to ditch the paper scheduling chaos for a proper cleaning service software. (Smart move!) This guide will walk you through exactly how to make that transition smoothly, without dropping clients or losing your sanity in the process.
Table of contents
1. The Preparation Phase
Audit Your Current Scheduling System
Before diving into new software, take a day to understand exactly what you’re working with now:
- Map your existing process: Jot down how you’re currently scheduling clients, assigning cleaners, and handling rescheduling. This doesn’t need to be fancy, just honest.
- Identify your pain points: Are double-bookings your nemesis? Struggling to track who’s paid? Can’t remember special cleaning instructions? Note your top three scheduling headaches.
- List your must-haves: What features can’t you live without? Maybe it’s the ability to see all your cleaners’ schedules at once, automated reminders for clients, or mobile access when you’re away from your desk. Plan to tackle learning those features first.
Stephanie Pipkin, who runs a successful cleaning business, shares: “When I was just starting, I couldn’t afford to NOT have automated scheduling. I was losing my mind managing everything manually while the business was growing fast.”
🧘Zen Tip: Before you begin, take photos of your paper scheduling system (your notebook, whiteboard, etc.). These will be helpful references during your setup, and later you might enjoy looking back at how far you’ve come!
Choose the Right Timing
Timing your transition is helpful:
- Pick a slower cleaning period: If possible, avoid making the switch during a slower week or month.
- Plan for overlap: Give yourself 1-2 weeks where both systems run simultaneously. Yes, it’s a bit more work temporarily, but this safety net prevents appointments from falling through the cracks. (And it’s worth it. Promise!)
- Create a simple timeline: Block off time on your calendar specifically for set-up, data entry, testing, and learning. You’ll want to block off 3-5 hours per week for the first couple of weeks. After that, set aside just an hour or two per week for your software admin.
🧘Zen Tip: No slow season in sight? Consider implementing the new system in phases. Start by moving just your recurring clients to ZenMaid first, then you add one-time appointments later once you’ve nailed that down.
Communicate with Your Team
Your cleaners need to know what’s changing and why:
- Hold a quick meeting or record a video they can watch later: Explain the transition plan and how it will make their jobs easier. Focus on benefits like clearer instructions for their day and fewer last-minute schedule changes.
- Set realistic expectations: Be upfront that there might be a few hiccups during the first couple of weeks, but reassure them you’ll be available to troubleshoot.
- Identify your tech-savvy team members: Find out who’s comfortable with apps and new technology — they can help others who might be more hesitant.
2. Building Your Digital Foundation
Start with the Essentials
When you first log into your new scheduling software (like ZenMaid), start by getting comfortable with the basics:
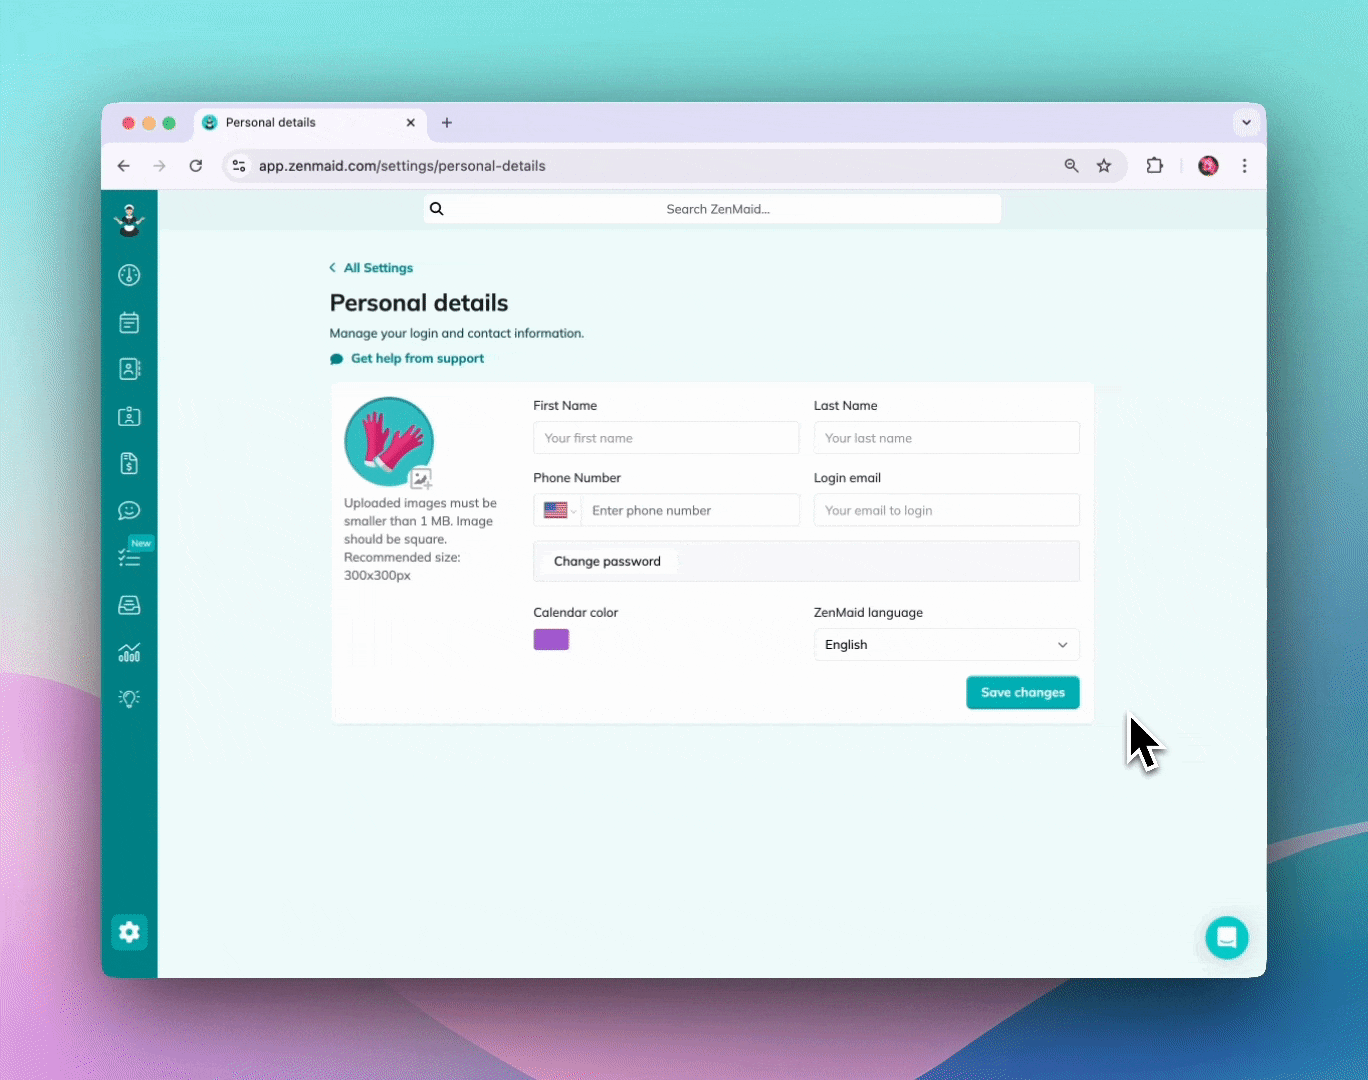
- Company information: Enter your business name, contact information, and working hours.
- Account settings: Set your time zone, currency, and schedule display preferences.
- Password and security: Create secure access credentials and decide whether you’ll want separate logins for staff members.
This is also when you’ll want to decide on your subscription level, based on how many cleaners you have and which features you need. If you’re not sure what you’ll need yet, start with what’s essential and then you can upgrade as you grow.
Configure Your Services
Next, set up the backbone of your scheduling system:
- Define your service types: Add each cleaning service you offer (standard cleaning, deep cleaning, move-out cleaning, etc.).
- Create custom fields: Set up fields for important information like alarm codes, pet names, or preferred cleaning products. This is where ZenMaid’s customizable fields really shine — anything you track on paper can be tracked digitally.
- Add pricing: Once you set up an appointment, you can set your rate, including variations based on home size or add-ons.
Set Up Team Management
Get your cleaning team into the system:
- Add cleaner profiles: Enter each cleaner’s name, contact information, pay rate, and availability.
- Create teams: If your cleaners work in pairs or groups, set up those team configurations.
- Set access permissions: Decide what information each cleaner can see. Most cleaning business owners prefer that cleaners don’t see pricing information or have full access to client contact details.
3. The Migration Process
Importing Your Client Data
This is the heart of your transition — moving your client information:
- Prepare your data: Gather client names, addresses, phone numbers, email addresses, and service details. A spreadsheet works well for organizing this information.
- Focus on active clients first: Start with your regulars and currently scheduled appointments, then add one-time clients later.
- Let the experts help: ZenMaid offers a free data migration service where they’ll move all your client information and upcoming appointments for you.
When Carolyn Arellano switched to ZenMaid, she found this service invaluable: “Having someone else handle the data transfer meant I could focus on running my business instead of typing in hundreds of addresses.”
🧘Zen Tip: When organizing your client data for import, include any upcoming birthdays, anniversaries, or other special dates you typically track. ZenMaid can help you automate special messages for these occasions, which clients love as a personalized touch.
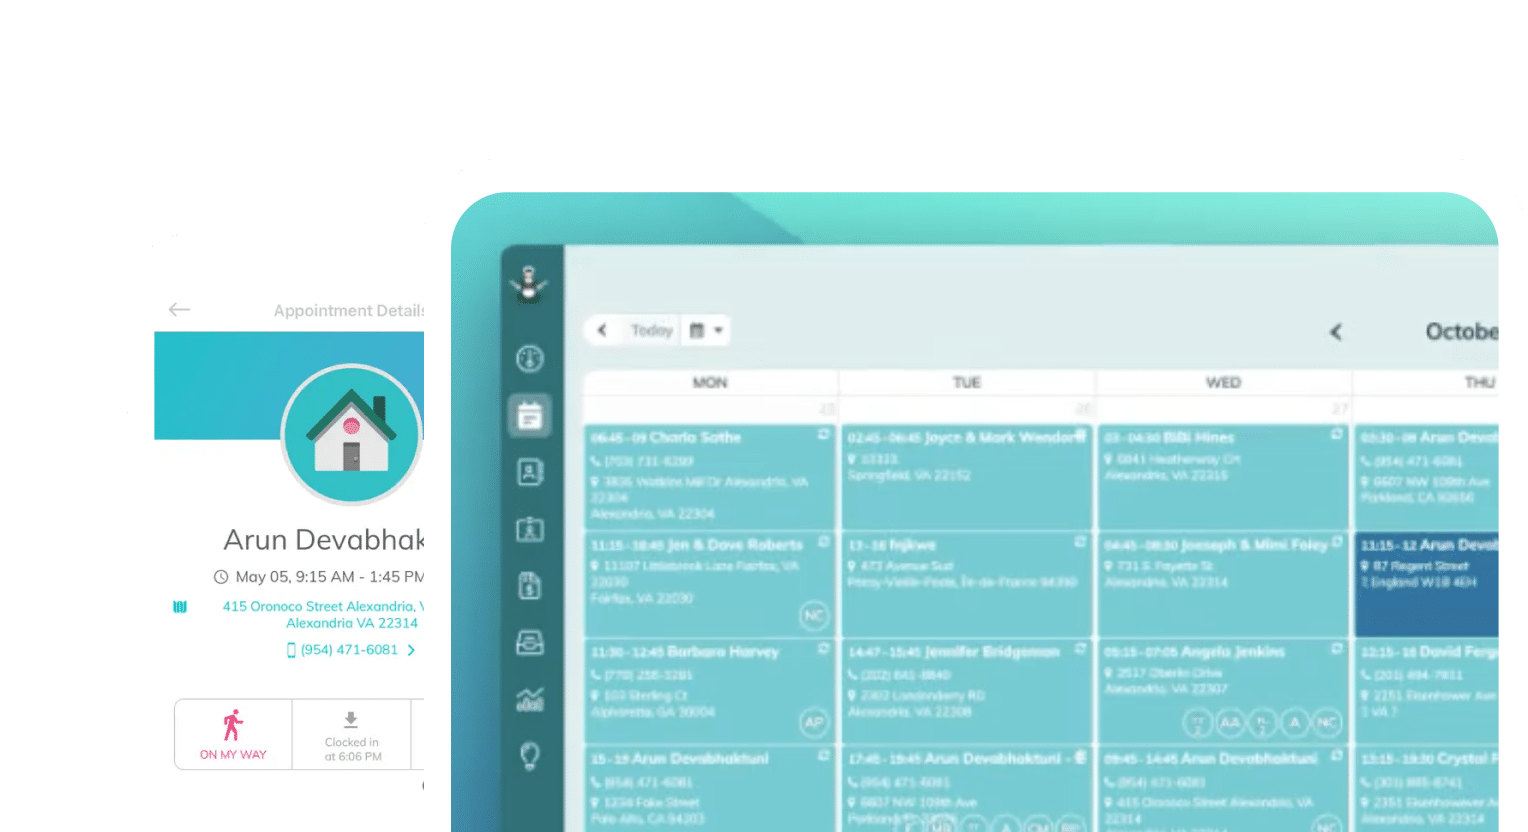
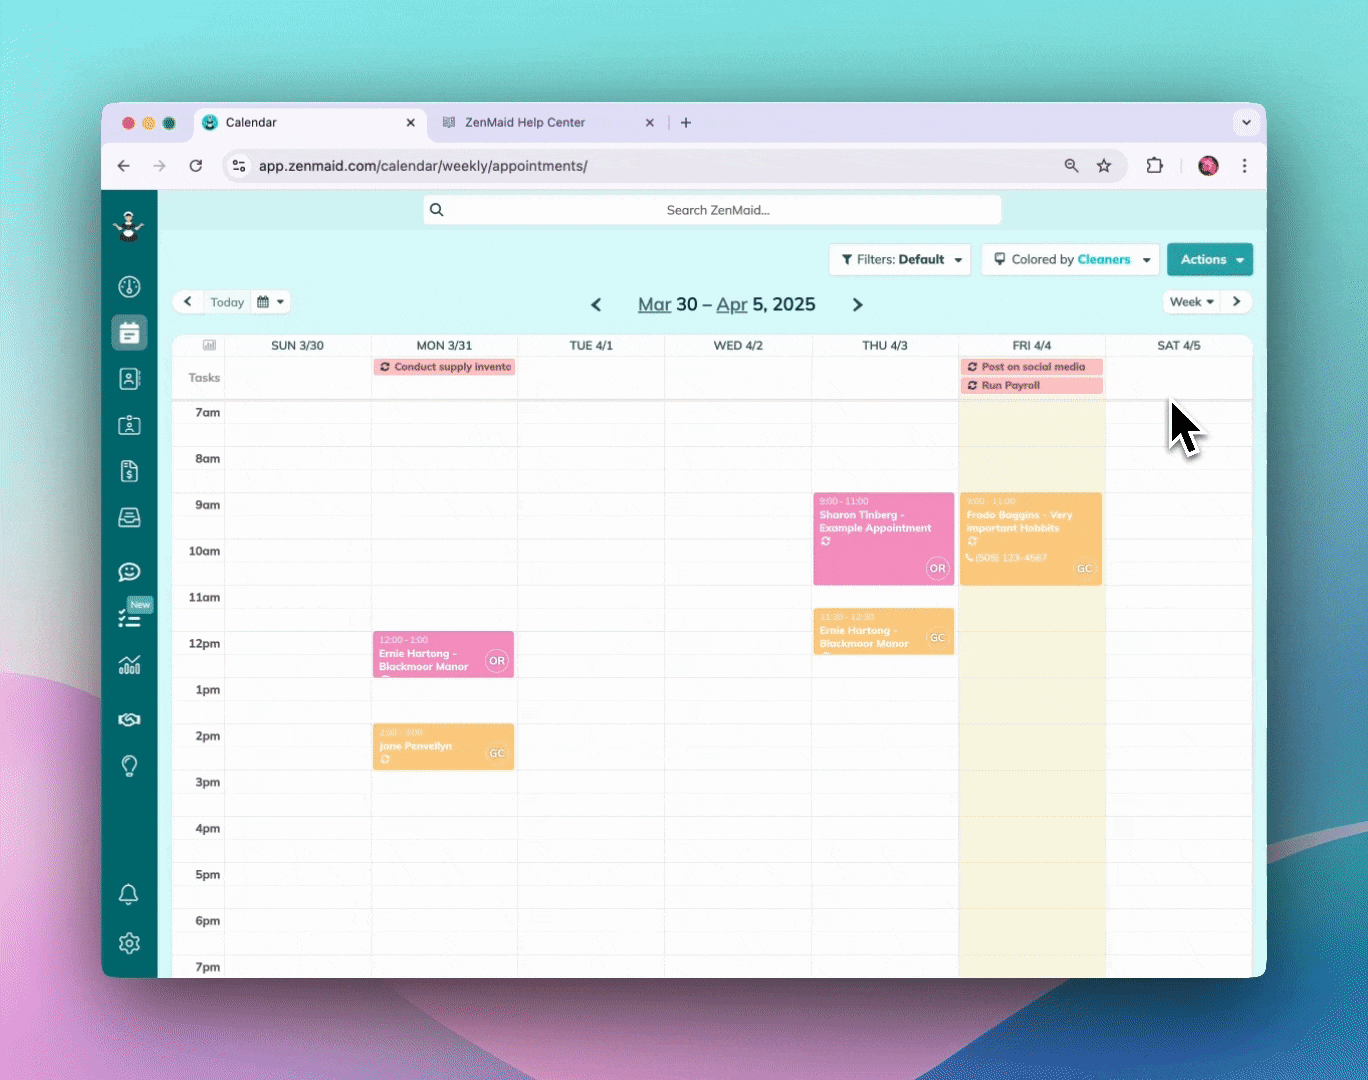
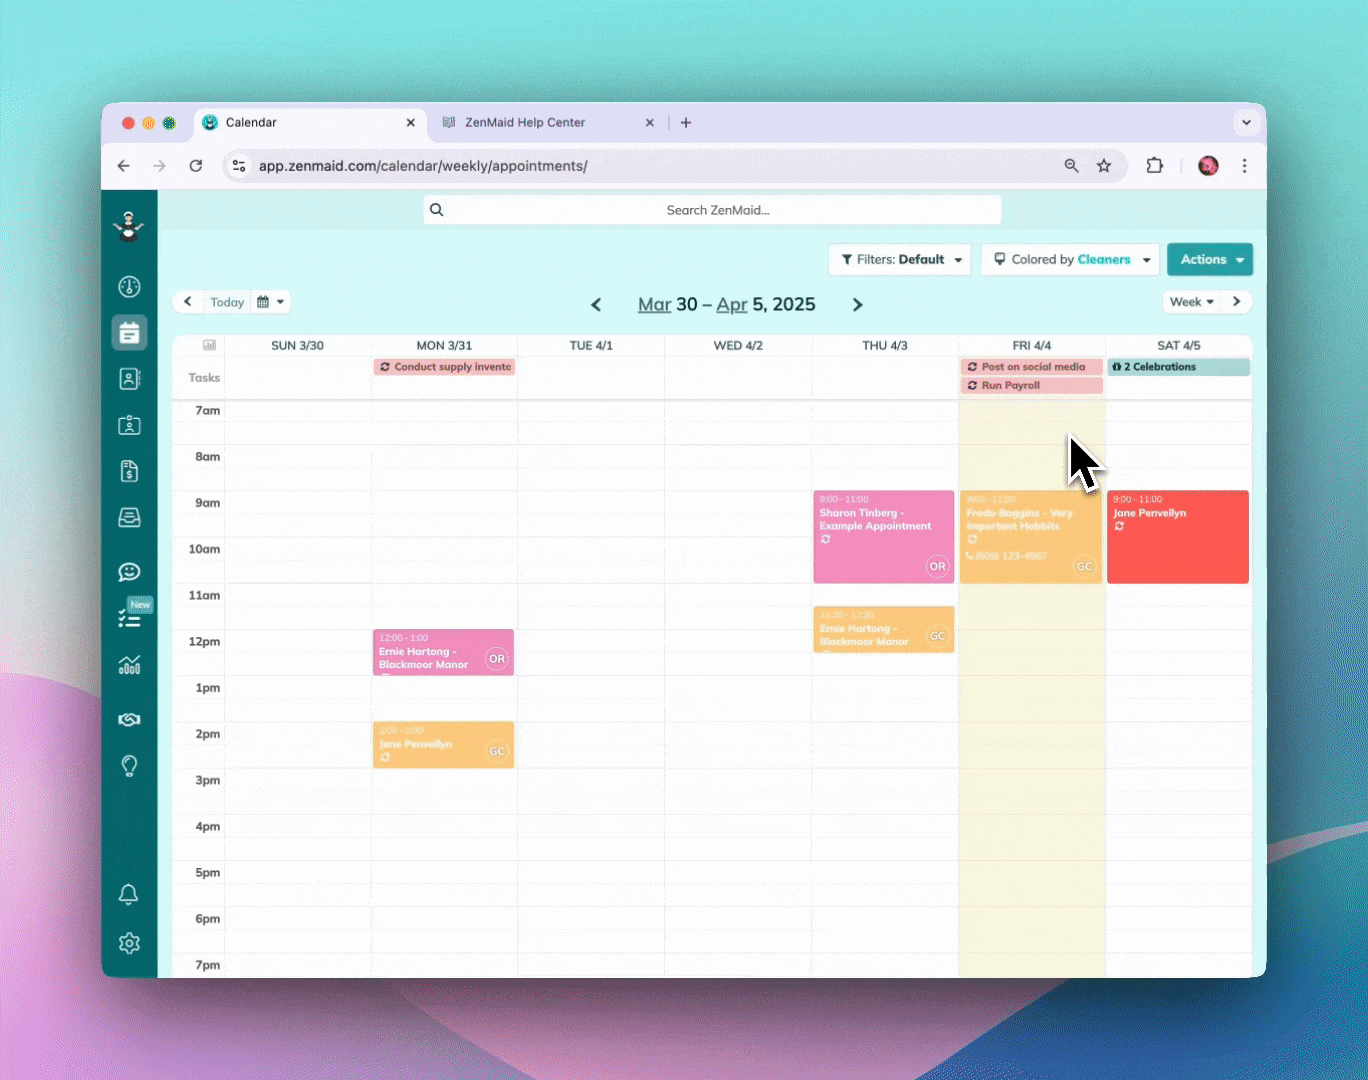
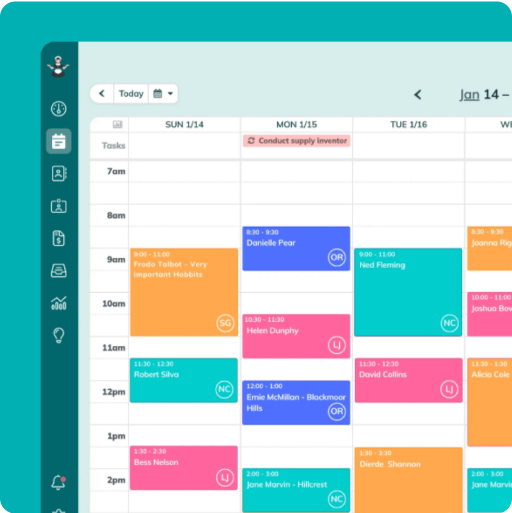
Setting Up Your First Digital Schedule
Now comes the satisfying part — watching your digital calendar take shape:
- Start with recurring clients: Enter your regular weekly and bi-weekly clients first, as they form the backbone of your schedule.
- Add one-time appointments: Fill in any upcoming one-time cleanings.
- Assign cleaners: Match the right cleaner or team to each appointment based on their skills and availability.
- Double-check everything: Review all appointments for accuracy, especially dates, times, and special instructions.
🧘Zen Tip: ZenMaid’s map view is a life-saver for routing. Once your schedule is set up, check the map view to ensure your cleaners aren’t zigzagging across town unnecessarily. You can manage appointments to optimize their route and save on drive time.
Testing Communications
Before going fully live, test your automated messages:
- Customize email and text templates: Adjust the standard templates to match your company’s voice and include all necessary information.
- Send test messages: Try sending reminder emails and texts to yourself to ensure they look right.
- Create a communication schedule: Decide when clients will receive appointment confirmations, reminders, and follow-ups.
🧘Zen Tip: ZenMaid’s text templates work best when kept under 160 characters. For longer messages, consider using email templates instead, which have no length restrictions and can include formatting. Email templates can be customized with “wildcards” that automatically pull in client information (like names, addresses, or appointment times). Take advantage of these to create personalized communications without the extra typing.
4. Launch Week
The Hybrid Approach
During your first week, use both systems as a safety net:
- Keep your paper calendar accessible: Continue referencing your old system while primarily working from the new one.
- Cross-check daily: Each morning, compare your paper schedule with your digital one to ensure nothing’s missing.
- Update both systems: For this short period, when you add or change an appointment, record it in both places.
Sharon Cowan, a cleaning business consultant, notes that her clients typically spend about a week in this hybrid phase before feeling confident enough to rely entirely on the digital system.
Client Communication
Let your clients know about your upgrade:
- Send a simple announcement: A brief email explaining that you’ve upgraded your scheduling system to serve them better is sufficient.
- Frame it as a benefit: Highlight how this will improve their experience: more reliable service, easier rescheduling, automated reminders, etc. Be sure to assure them that their data is 100% protected and secure in a software like ZenMaid.
- Provide your contact info: Reassure clients they can still reach you the same way if they have questions.

5. The Transition Period
Handling Hiccups
It’s normal to have a few confusing moments during the first week of transition. Don’t worry; it’ll get easier as you go. Here’s how to tackle those hiccups:
- Common challenges: During weeks 2-4, you might encounter issues like cleaners forgetting to check the app, missed notifications, or confusion about recurring appointments.
- Quick fixes: Most problems have simple solutions — like refreshing the app, double-checking notification settings, or clarifying instructions for your team.
- Know when to ask for help: ZenMaid’s support team is just an easy chat or call away for those trickier questions. They’ve helped thousands of cleaning businesses through this exact transition.
🧘Zen Tip: If a cleaner gets confused about where to find information in the app, you can use the screen recording feature on your phone to create a quick tutorial video just for them. This is often faster than trying to explain via text.
Building Team Confidence
Help your cleaning staff become comfortable with the new system:
- Check in regularly: Ask for feedback and address any difficulties your cleaners are experiencing.
- Celebrate wins: Point out how the new system is already making things better—like fewer miscommunications or clearer directions.
- Introduce features gradually: Once everyone’s comfortable with the basics, start introducing more advanced features like GPS tracking or clock-in/out functions.
6. Fine-tuning Your Setup
Optimizing Your Workflow
After about a month, revisit your settings:
- Revisit your initial setup: Now that you’ve been using the system, you might want to adjust some of your initial configurations.
- Add more automation: Start using additional features like automated follow-ups, service rating requests, and invoicing.
- Connect with other tools: Explore integration options with your accounting software or email marketing system.
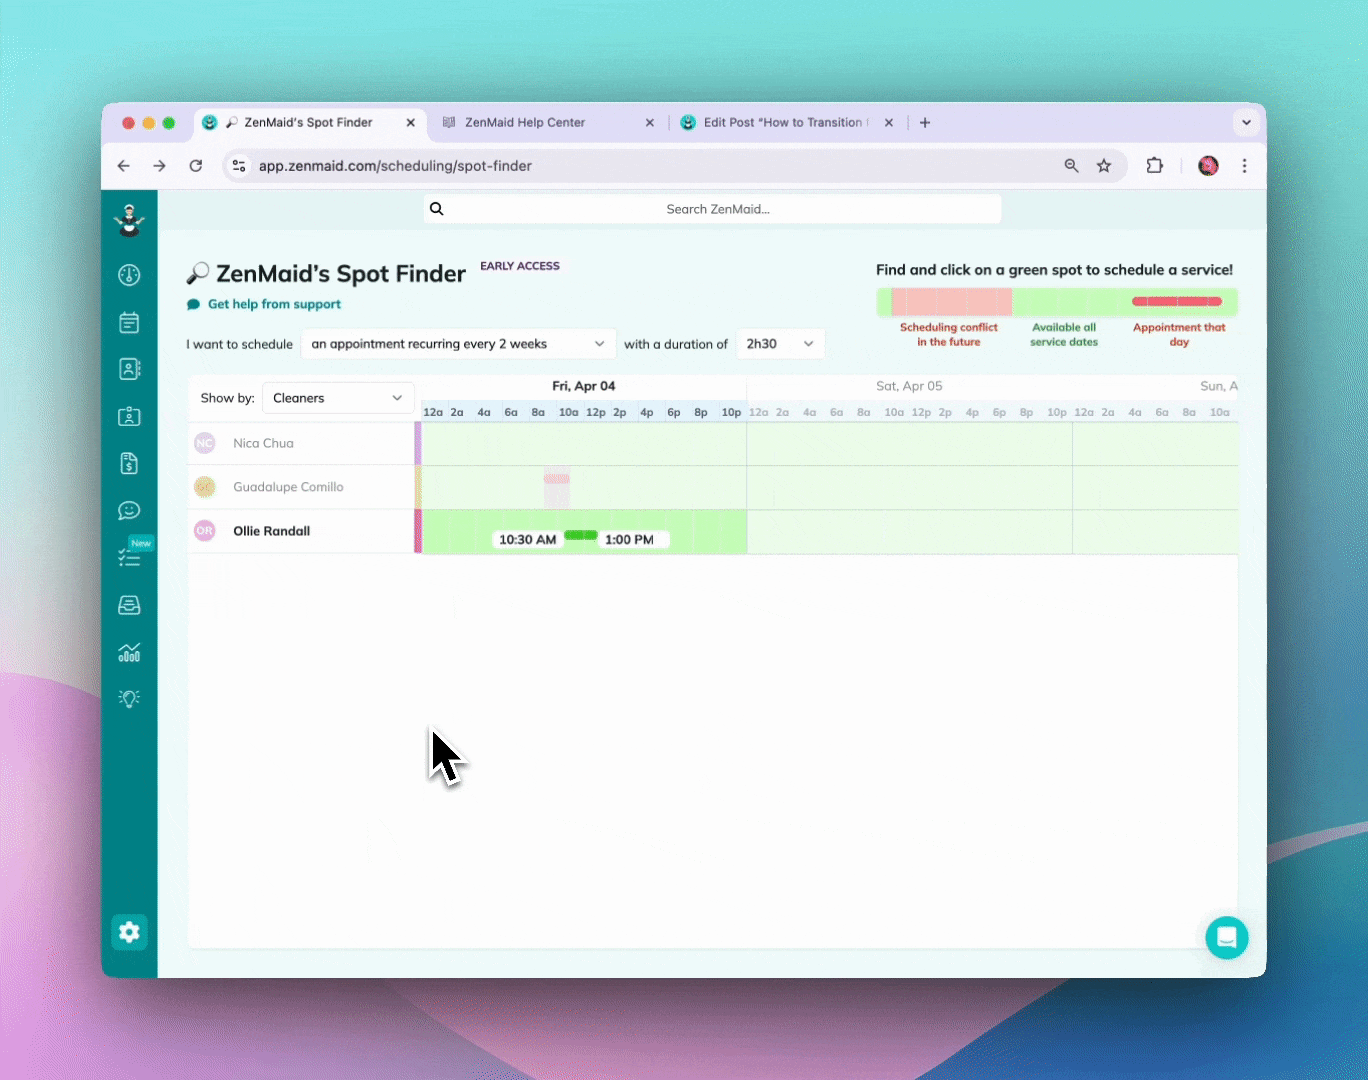
🧘Zen Tip: Once you’re getting the hang of things, explore the Spotfinder feature, which helps you quickly identify open time slots for new clients. This is especially helpful when you want to fill gaps in your schedule without disrupting your established cleaning routes.
Using Data and Reports to Grow
Your scheduling software isn’t just for appointments — it’s a growth tool!:
- Review your reports: Check out metrics like busiest days, most profitable services, or client retention rates.
- Gather client feedback: Set up automated messages asking clients how you’re doing.
- Implement online booking: Add a booking form to your website so new clients can schedule directly with you. ZenMaid’s booking forms are designed specifically for cleaning services, with options for room counts, square footage, and service frequency.
The Finish Line: You Did It!
Congratulations! You’ve successfully moved from chaotic paper scheduling to a streamlined digital system. What used to take hours now happens automatically, and your Sunday evenings are yours again.
Remember that this transition is a process, not an event. Each week, you’ll discover new ways the software can work for you. You might find yourself thinking, “Wait, it can do that too?” more often than you expect!
The thousands of cleaning business owners who’ve made this transition before you can attest — this is one of the best business moves you’ll ever make. Your clients will notice the improved professionalism, your cleaners will appreciate the clarity, and you’ll wonder how you ever managed with just pen and paper.
🧘Ready to get started? ZenMaid offers a 14-day free trial, plus they’ll move all your data over for you at no charge. You’ll also get a free one-on-one optimization call with their team of industry experts who know exactly how to set up your account for success.
QUICK TIP FROM THE AUTHOR
Simplify and enjoy your scheduling with a scheduling software made for maid services
- Have a beautiful calendar that's full but never stressful.
- Make your cleaners happy and provide all the information they need at their fingertips.
- Convert more website visitors into leads and get new cleanings in your inbox with high-converting booking forms.
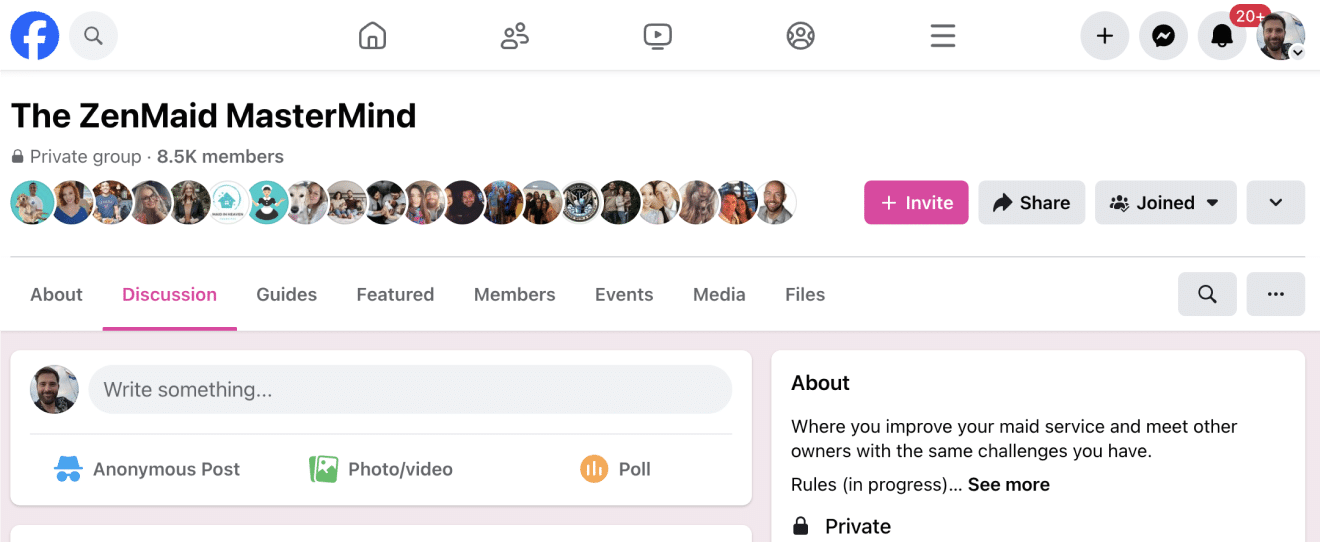
- Become part of a community of 8000+ cheering maid service owners just like you.
Start your FREE ZenMaid trial today and discover the freedom and clarity that ZenMaid can bring to your maid service! Start your FREE trial today